This help article will show how to use the animation features, and explain how to output your design files.
Who can access animation features?
Pro subscribers have full access to the animation features. User who are not Pro subscribers will see a prompt asking them to try or buy a Pro subscription when they click the Animate tool.
What is the animation feature exactly?

Add simple, short animations to any layer in your design—a graphic, text, or image. On the associated tools menus (Image tools, Graphic tools, Text tools) you will see an Animate option that will allow you to add various types of movements to design layers.
What are the fast steps for using the animation features?
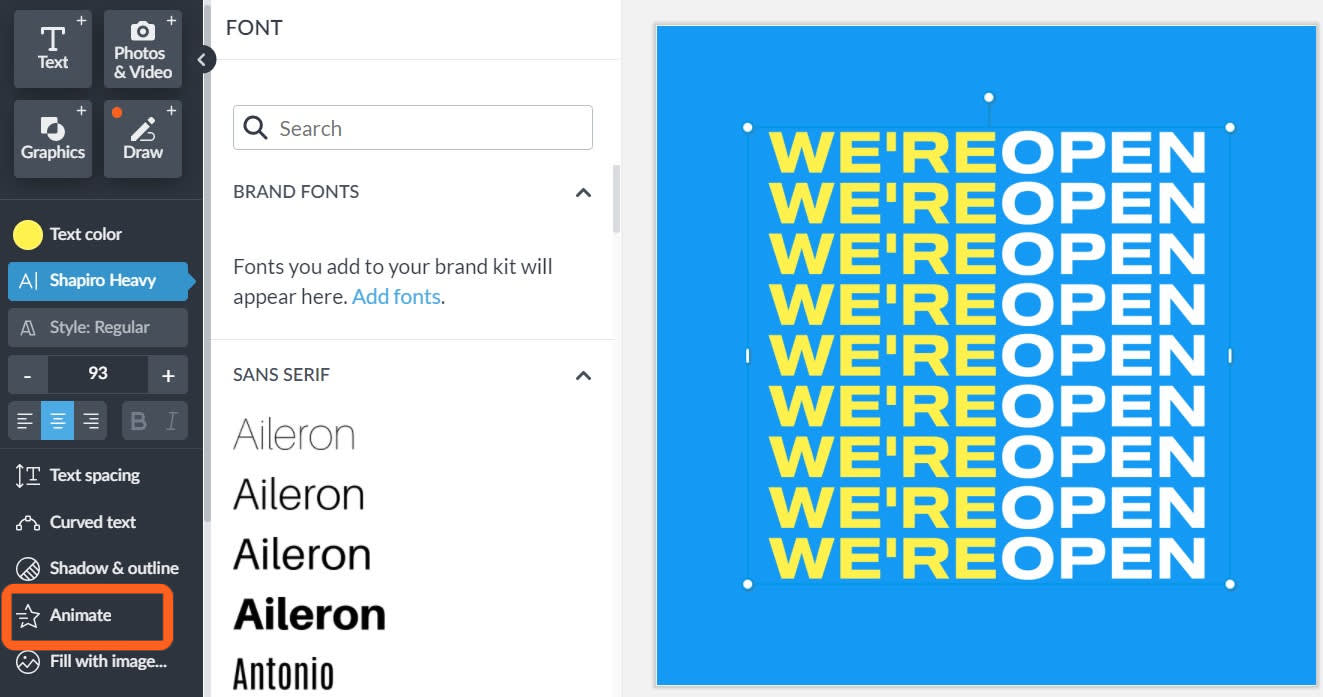
Select the layer of your design to animate and click Animate on the tools menu.
Choose the animation style and variation to apply.
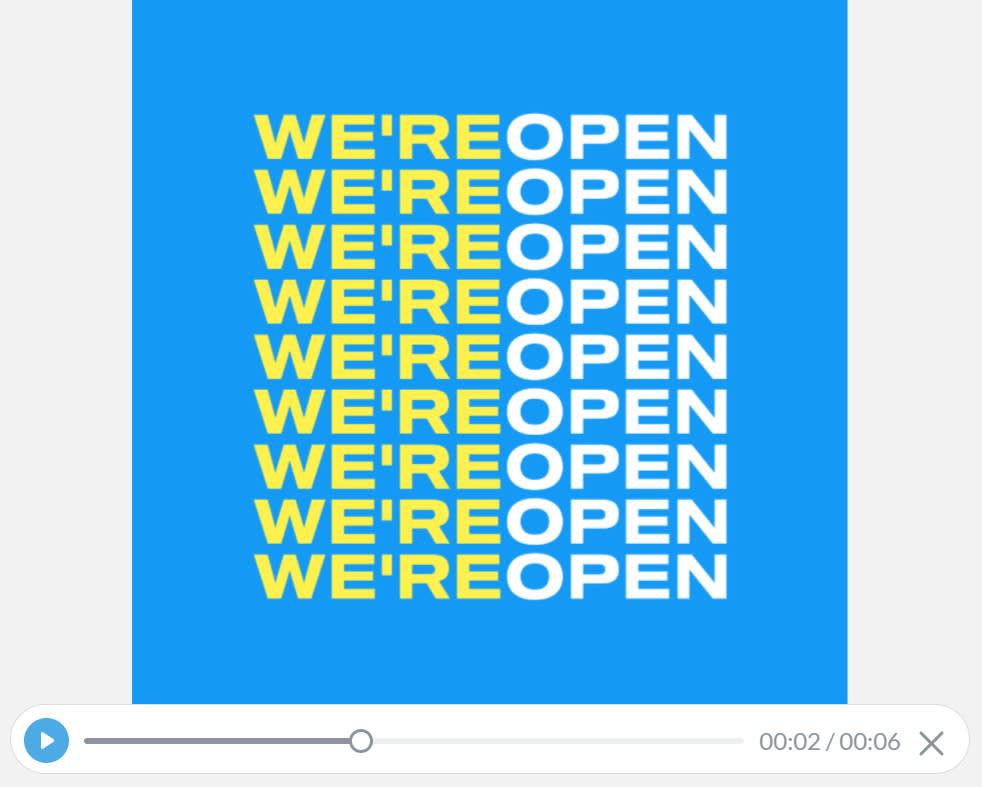
Click the Play button to preview the animation.
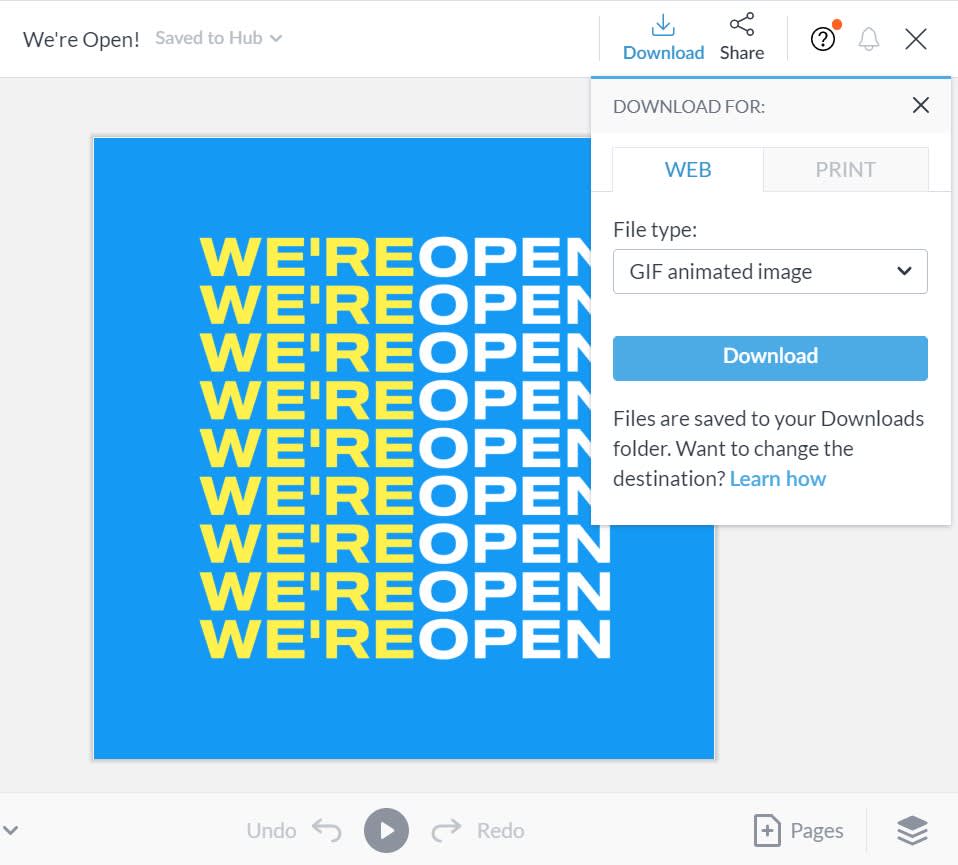
Download your finished design as a MP4 or GIF.
What are the detailed steps for using animation?
Follow the steps below for the complete rundown on animating design layers.
Step 1: Select your layer and click Animate

To use animation, you first need some elements on your canvas to animate. Open a project with different layers, create a new one, or choose a template to quickly try out the animation features. Browse our templates here. Once your project is open in PicMonkey, click on a layer— graphics, text, and images will allow animation. You cannot animate a collage, video, or background.
Step 2: Choose the animation style to apply

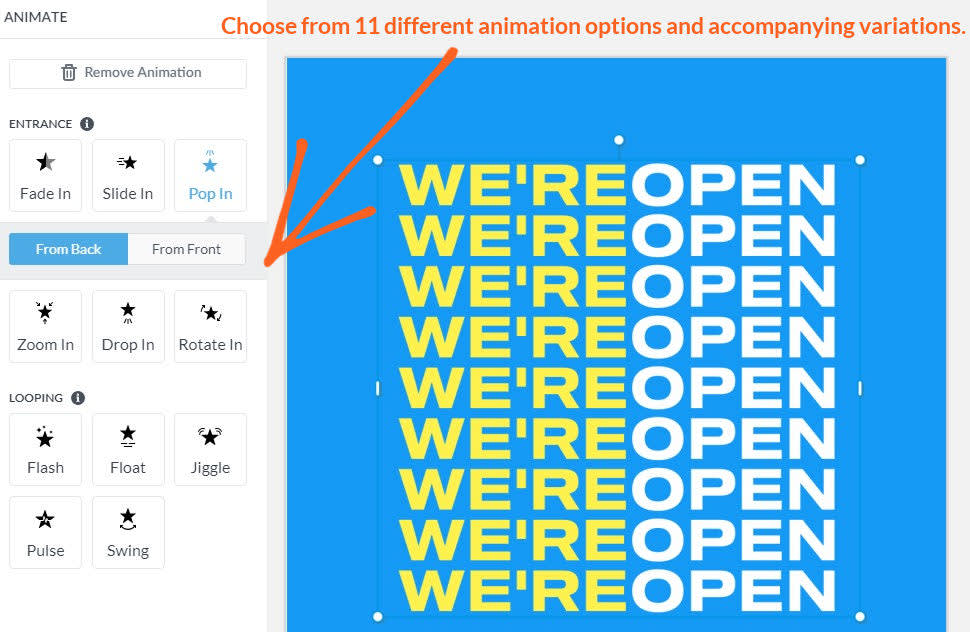
There are currently 11 animation options to choose from. The None button will be visible until an animation effect has been applied to a layer. Afterward, it will change to Remove Animation. Click this button to un-animate your layer.
Each animation effect also comes with unique variations. Try them out on your graphic or text or image to see which works the best with your overall design. Some animations start with your graphic off screen (like Slide In), while others remain in perpetual motion (like Jiggle).
All the animation movements available to apply to your designs. Note that the green stars are looping motion animations, while the orange are entrance motion animations.
There are two types of animation: looping motion and entrance motion.
Looping motion: This type of animation is in perpetual motion, on an unending loop. If you download your design as a MP4 this animation type will persist throughout the length of your video. If you download this animation type as a GIF it will also move during the entirety of your GIF loop.
Entrance motion: These animations enter at the start of your GIF or MP4 and then stop at 1.5 seconds. If you download a design with one of these animations as a GIF the animation will repeat every :06 seconds if your GIF is on a loop. If you download as a MP4, however, the animation will play for 1.5 seconds and remain stationary for the duration of the clip.
Pro tip: For best results we recommend downloading GIFs no longer than 6-10 seconds.
Remove Animation: When you click the Animate option and choose an animation type, your design element is now animated—that means if you decide to “un-animate” it later then you’ll need to select your element, click Animate, and then select Remove Animation in the Animate menu.
Step 3: Click the Play button to preview the animation

After you’ve chosen an animation and moved on to another element of your design, the object you animated will be appear to be unmoving on your canvas. To see it move and preview your whole design click the Play button on the bottom toolbar. This function is especially useful when you have animated multiple layers to see how all of the design elements work together.
Step 4: Download your finished design as a MP4 or GIF

When you are finished with your design, download it as either a GIF or an MP4 depending on where you will share/post it. When you download these file types to your desktop they can sometimes take a few minutes depending on file size or your internet connection speed. Don’t worry because we will email you a link to download your video file when it’s ready.