If you've got the right photo with the wrong colors, our color replacing super powers are here to save the day. You don't have to get complicated photo editing software like Photoshop to do it. You just need PicMonkey. We're gonna show you quick steps for how to replace colors in an image, then talk about the finer details and tips. Sign up free to try it out for yourself right now!
What's the difference between color adjusting and color replacing?
Traditional color adjustment tools allow you to modify the overall color of the image: they move all the colors together. These are great for correcting white balance or introducing tints and changes to saturation across the entire image for aesthetic effect. A color replacing tool (also called a color changer) allows you to change individual colors without impacting other colors in the image. So you can change the color of your lettuce and avocados without changing your tomatoes or peppers or cabbage.
Why you shouldn't use Photoshop for color replacing
Adobe's color replacing tutorial tells you there are three ways of changing colors in Photoshop. And they work. But if you don't have time to dive in and figure out which tool is the right one; or you don't like sorting through multiple pull-down menus that have 17 to 20 choices each; and more importantly, if you're confused by phrases like "changing out-of-gamut colors for printing" and "Bitmap, Indexed, or Multichannel color mode," you'll be stopped right out of the starting gate. PicMonkey's made for people who do other things in addition to making stunning images all day long (entrepreneurs, social marketers, side-giggers, creative passion-istas, we're looking at you). So everything's quicker and easier, and you still get jaw. dropping. results.
How to replace colors using PicMonkey
Quickly change the color of an image in PicMonkey with these steps:
Click Create new and open a photo of your own or pick one from our stock photo library.
In the Effects tab, click Color Changer. Select the color dot for the hue you want to change.
Move the Hue slider and watch the color change. Fiddle with Saturation and Luminance sliders to customize even more.
Click Apply when you're done.
Now let's get a little more into the nitty gritties. We're going to start with a photo of a woman in a stylin orange shirt and change it to...well, you'll see.
Select the layer you want to make changes to

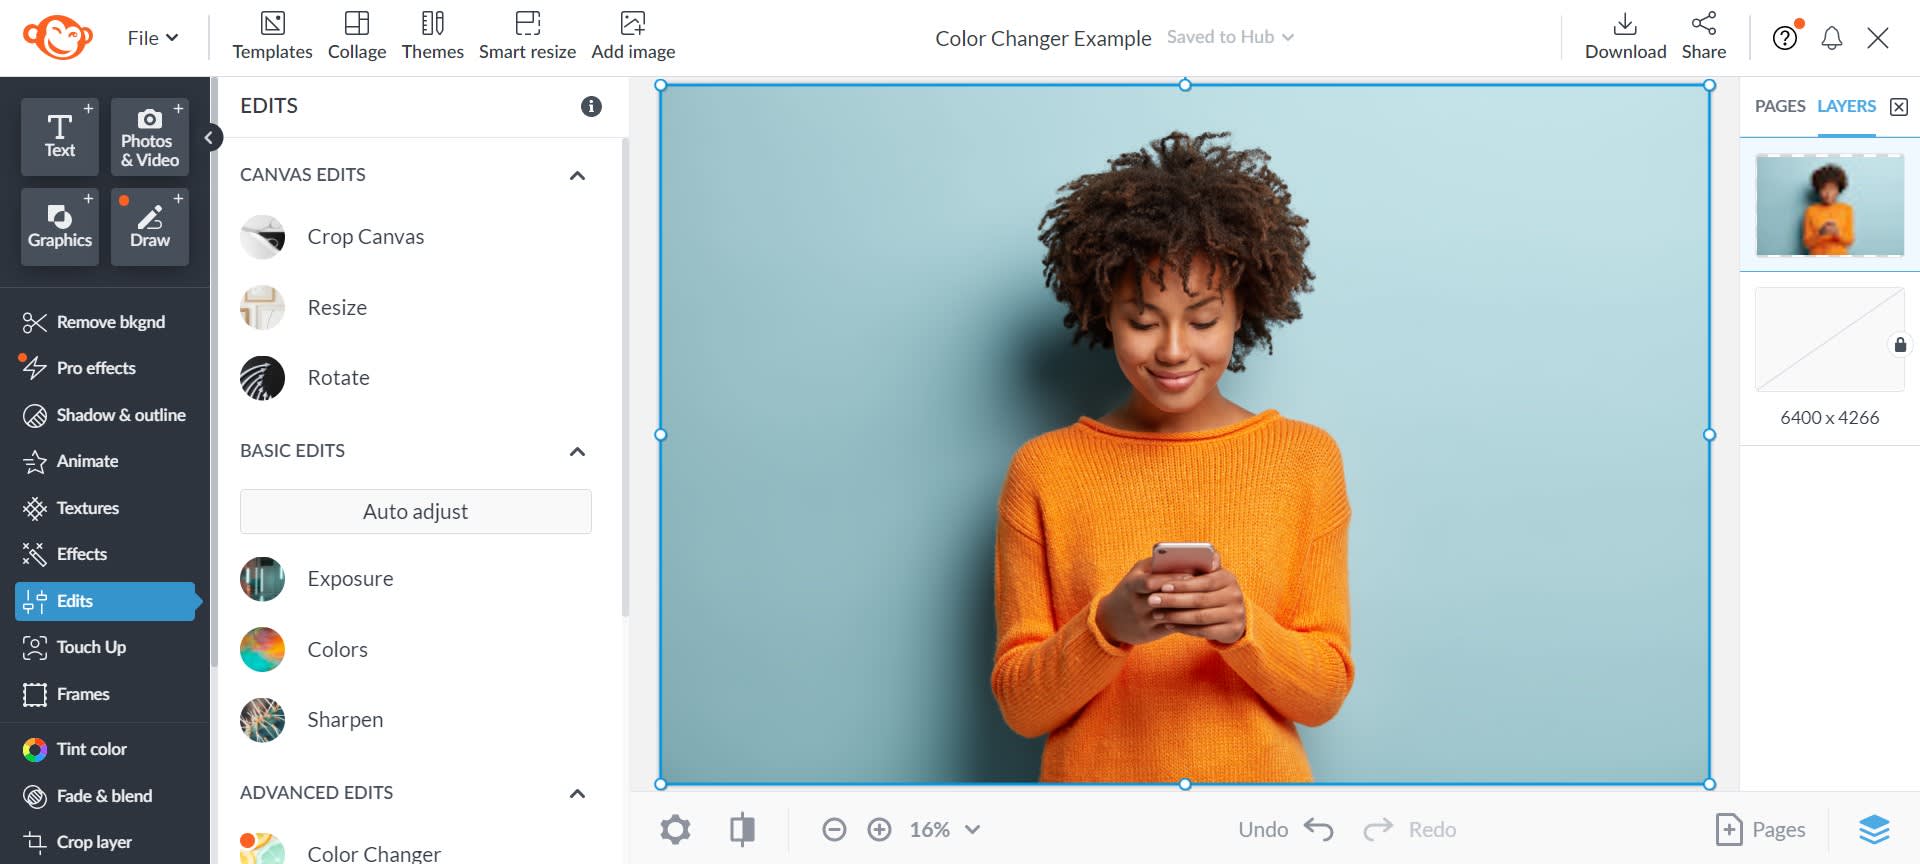
Click Create new, then choose wherever your photo is stored, or grab one from our massive stock photo library or pick a design template. Most often your photo is going to be one layer, unless you're working with multi-layered design, either from a template or your own fine handiwork. In those cases, you have to tell PicMonkey which layer you want to change, by selecting it in the Layers panel (click the stacked squares icon on the far right side of the bottom toolbar).
Psst...need to remove an image background? See: Automatic Background Remover, Plus Design Inspo!
Open Color Changer

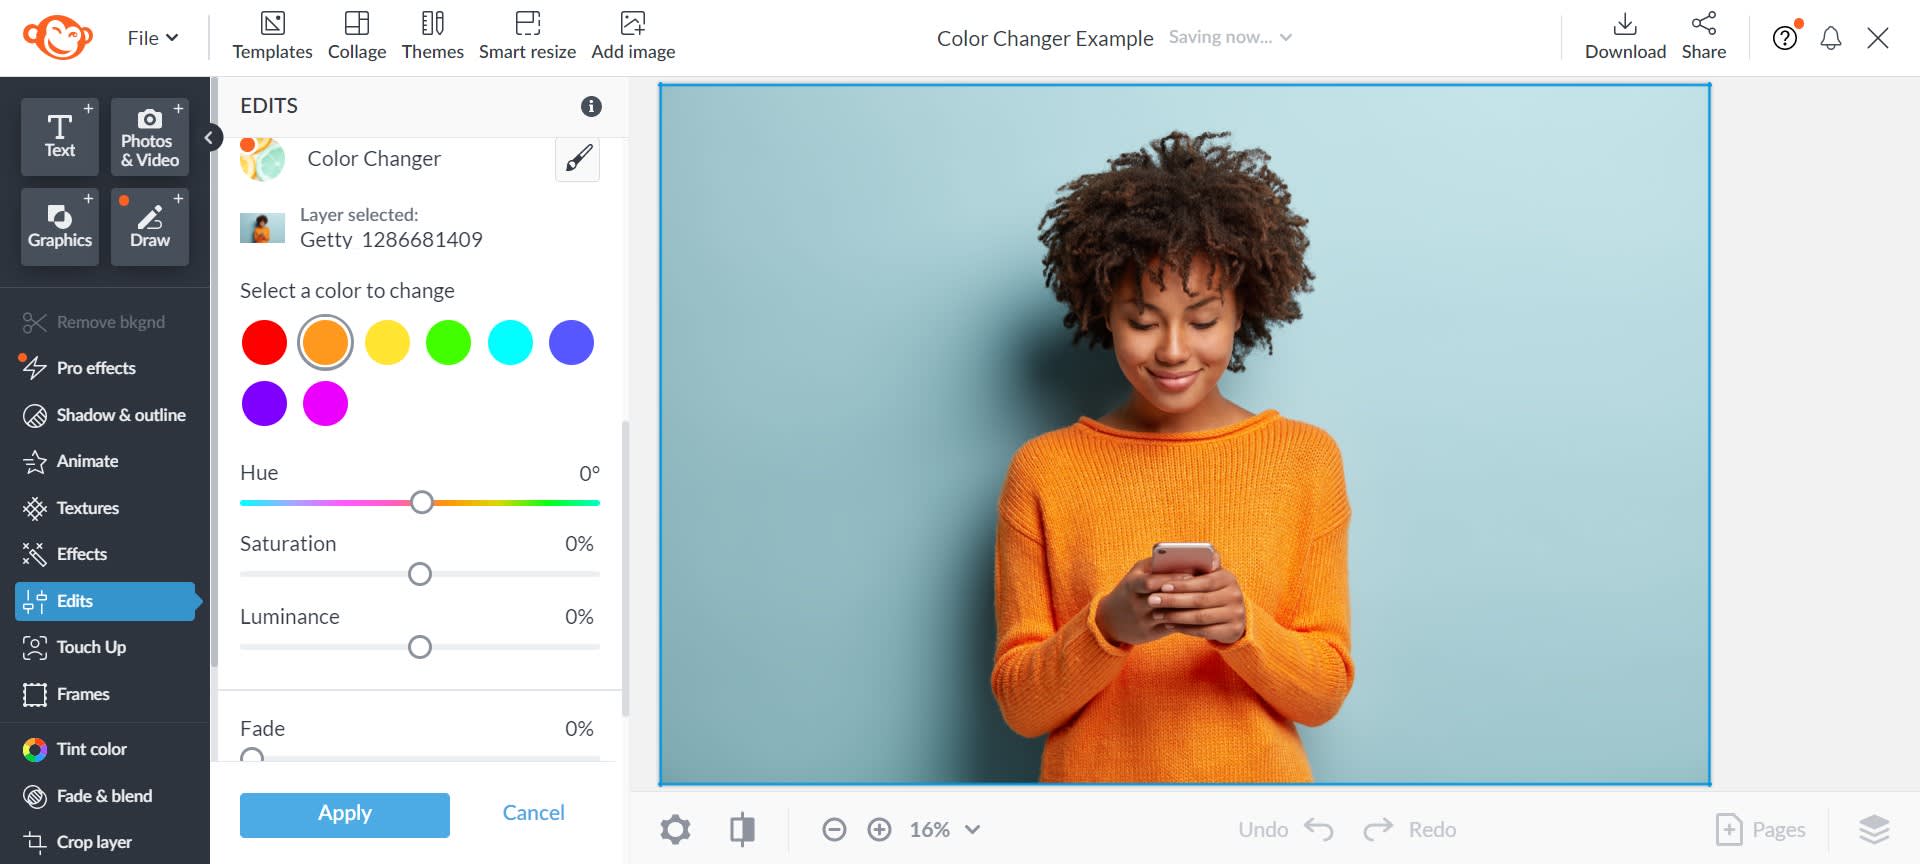
Find Color Changer in Effects, and also in Edits, among the tabs in the blue column on the far left. Click it. The controls will open in the left panel. Click the color dot that's closest to the color you want to change.
Adjust Hue, then Saturation and Luminance

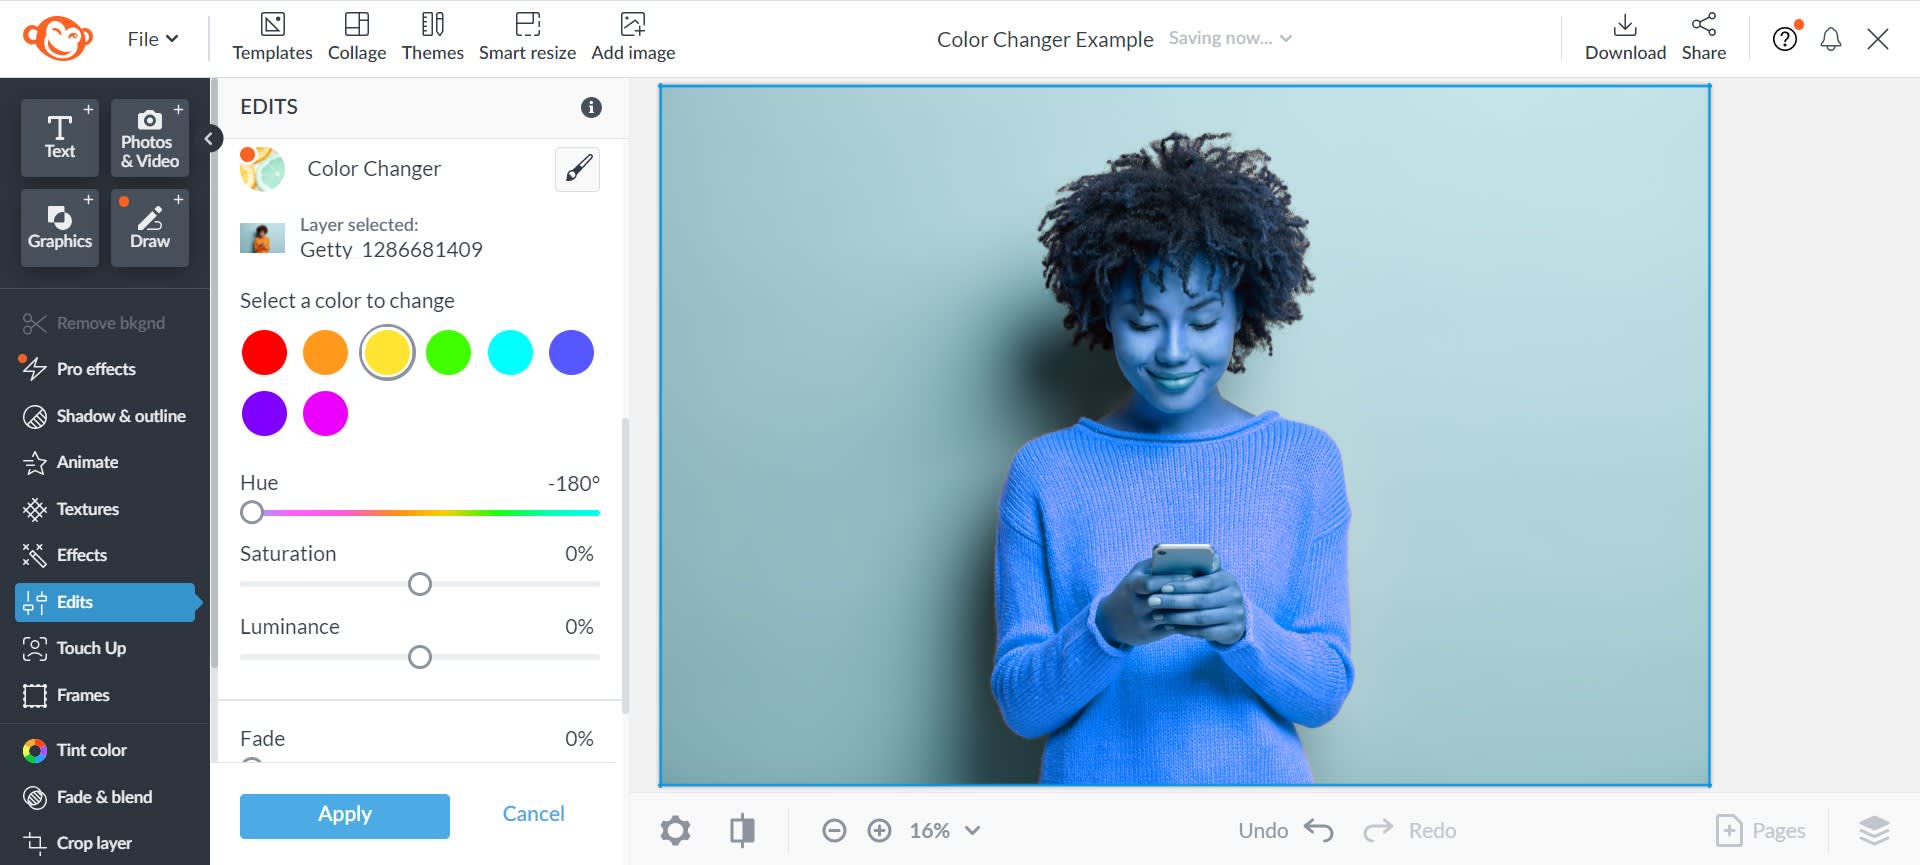
Now comes the fun part. Adjust the Hue slider and watch the colors change. Note that, while your mouse is hovered over the circle handle on the slider, the exact number of your adjustment appears. This is handy if you want to remember your adjustments — in combination with the numbers of adjustments on the other sliders, it creates a recipe for a look you can replicate on other photos.
Move the Saturation and Luminance sliders to adjust the amount of color and brightness, respectively, for the color you've selected.
To change other colors in your photo, just pick another color dot and move the Hue, Saturation, and Luminance sliders.
Click Apply when you're done.
Note: We are NOT trying to turn our subject into a smurf; however, because her shirt consists of multiple colors, we need to get creative. Which means...
Use the eraser to remove changes from a specific area

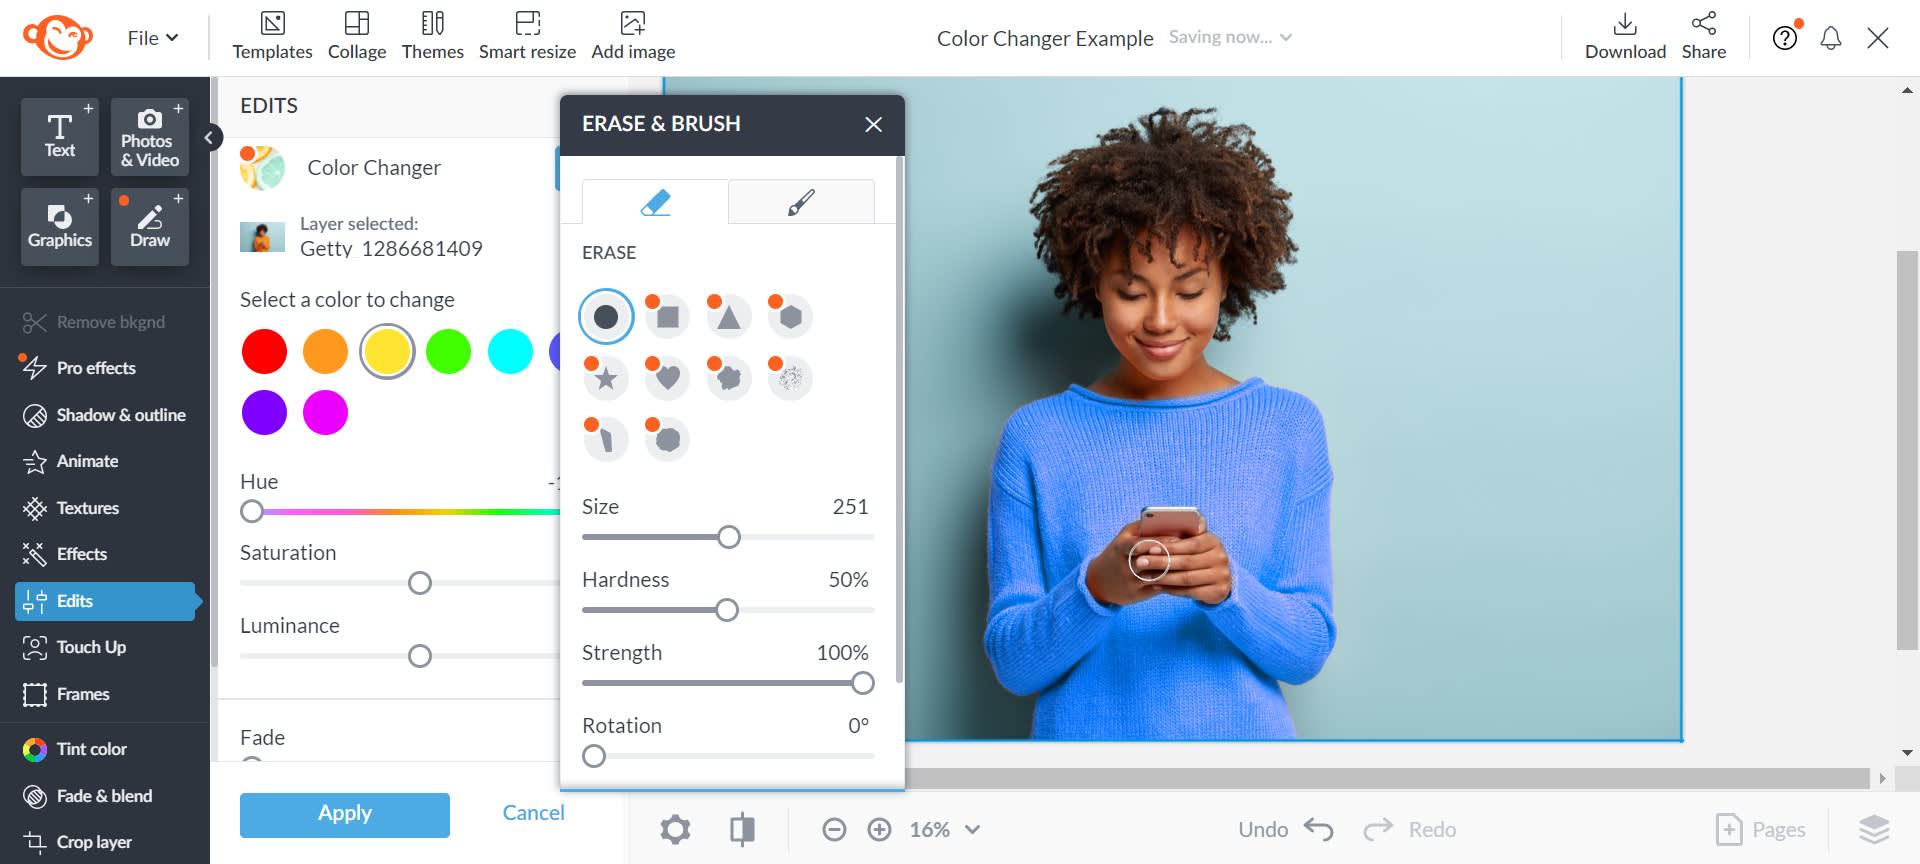
If you want to keep an area of the selected color from receiving hue changes, use the Brush/Erase tool. Click the paintbrush icon in the upper right corner of the controls in the panel. Click the eraser icon in the Erase & Brush palette that opens to the side. Now drag the eraser over parts you want to keep the original color. In our example, we've erased the color change from everything but our subject's shirt!
This is especially useful if trying to change colors in the subject of your photo, but it shares colors with your background.
More tips for getting the best look
Don't be shy about hitting Apply; the colors in the images aren't really updated until you apply the change. Apply when you've made an adjustment before going back in to do touch ups.
Color Changer indexes all the colors in your photo to the color dots in the panel, but sometimes they're not what you see with your naked eye. For example, if you want to change teal colors, don't click the green color dot — Color Changer files 'em under the blue color dot. Just methodically click through all the color dots if your first choice is wrong.
In some photos, folds and shadows are actually two different colors, so you may need to apply color changes separately to each.
If an area of color isn't shifting with the rest, it may be because the tool considers it a different color. To fix this, try adjusting those adjacent colors as a separate step.
The cool thing about Color Changer? You can use it to achieve realistic or totally "out there" looks. Your choice!
More help: How to Use the Color Changer Effect
